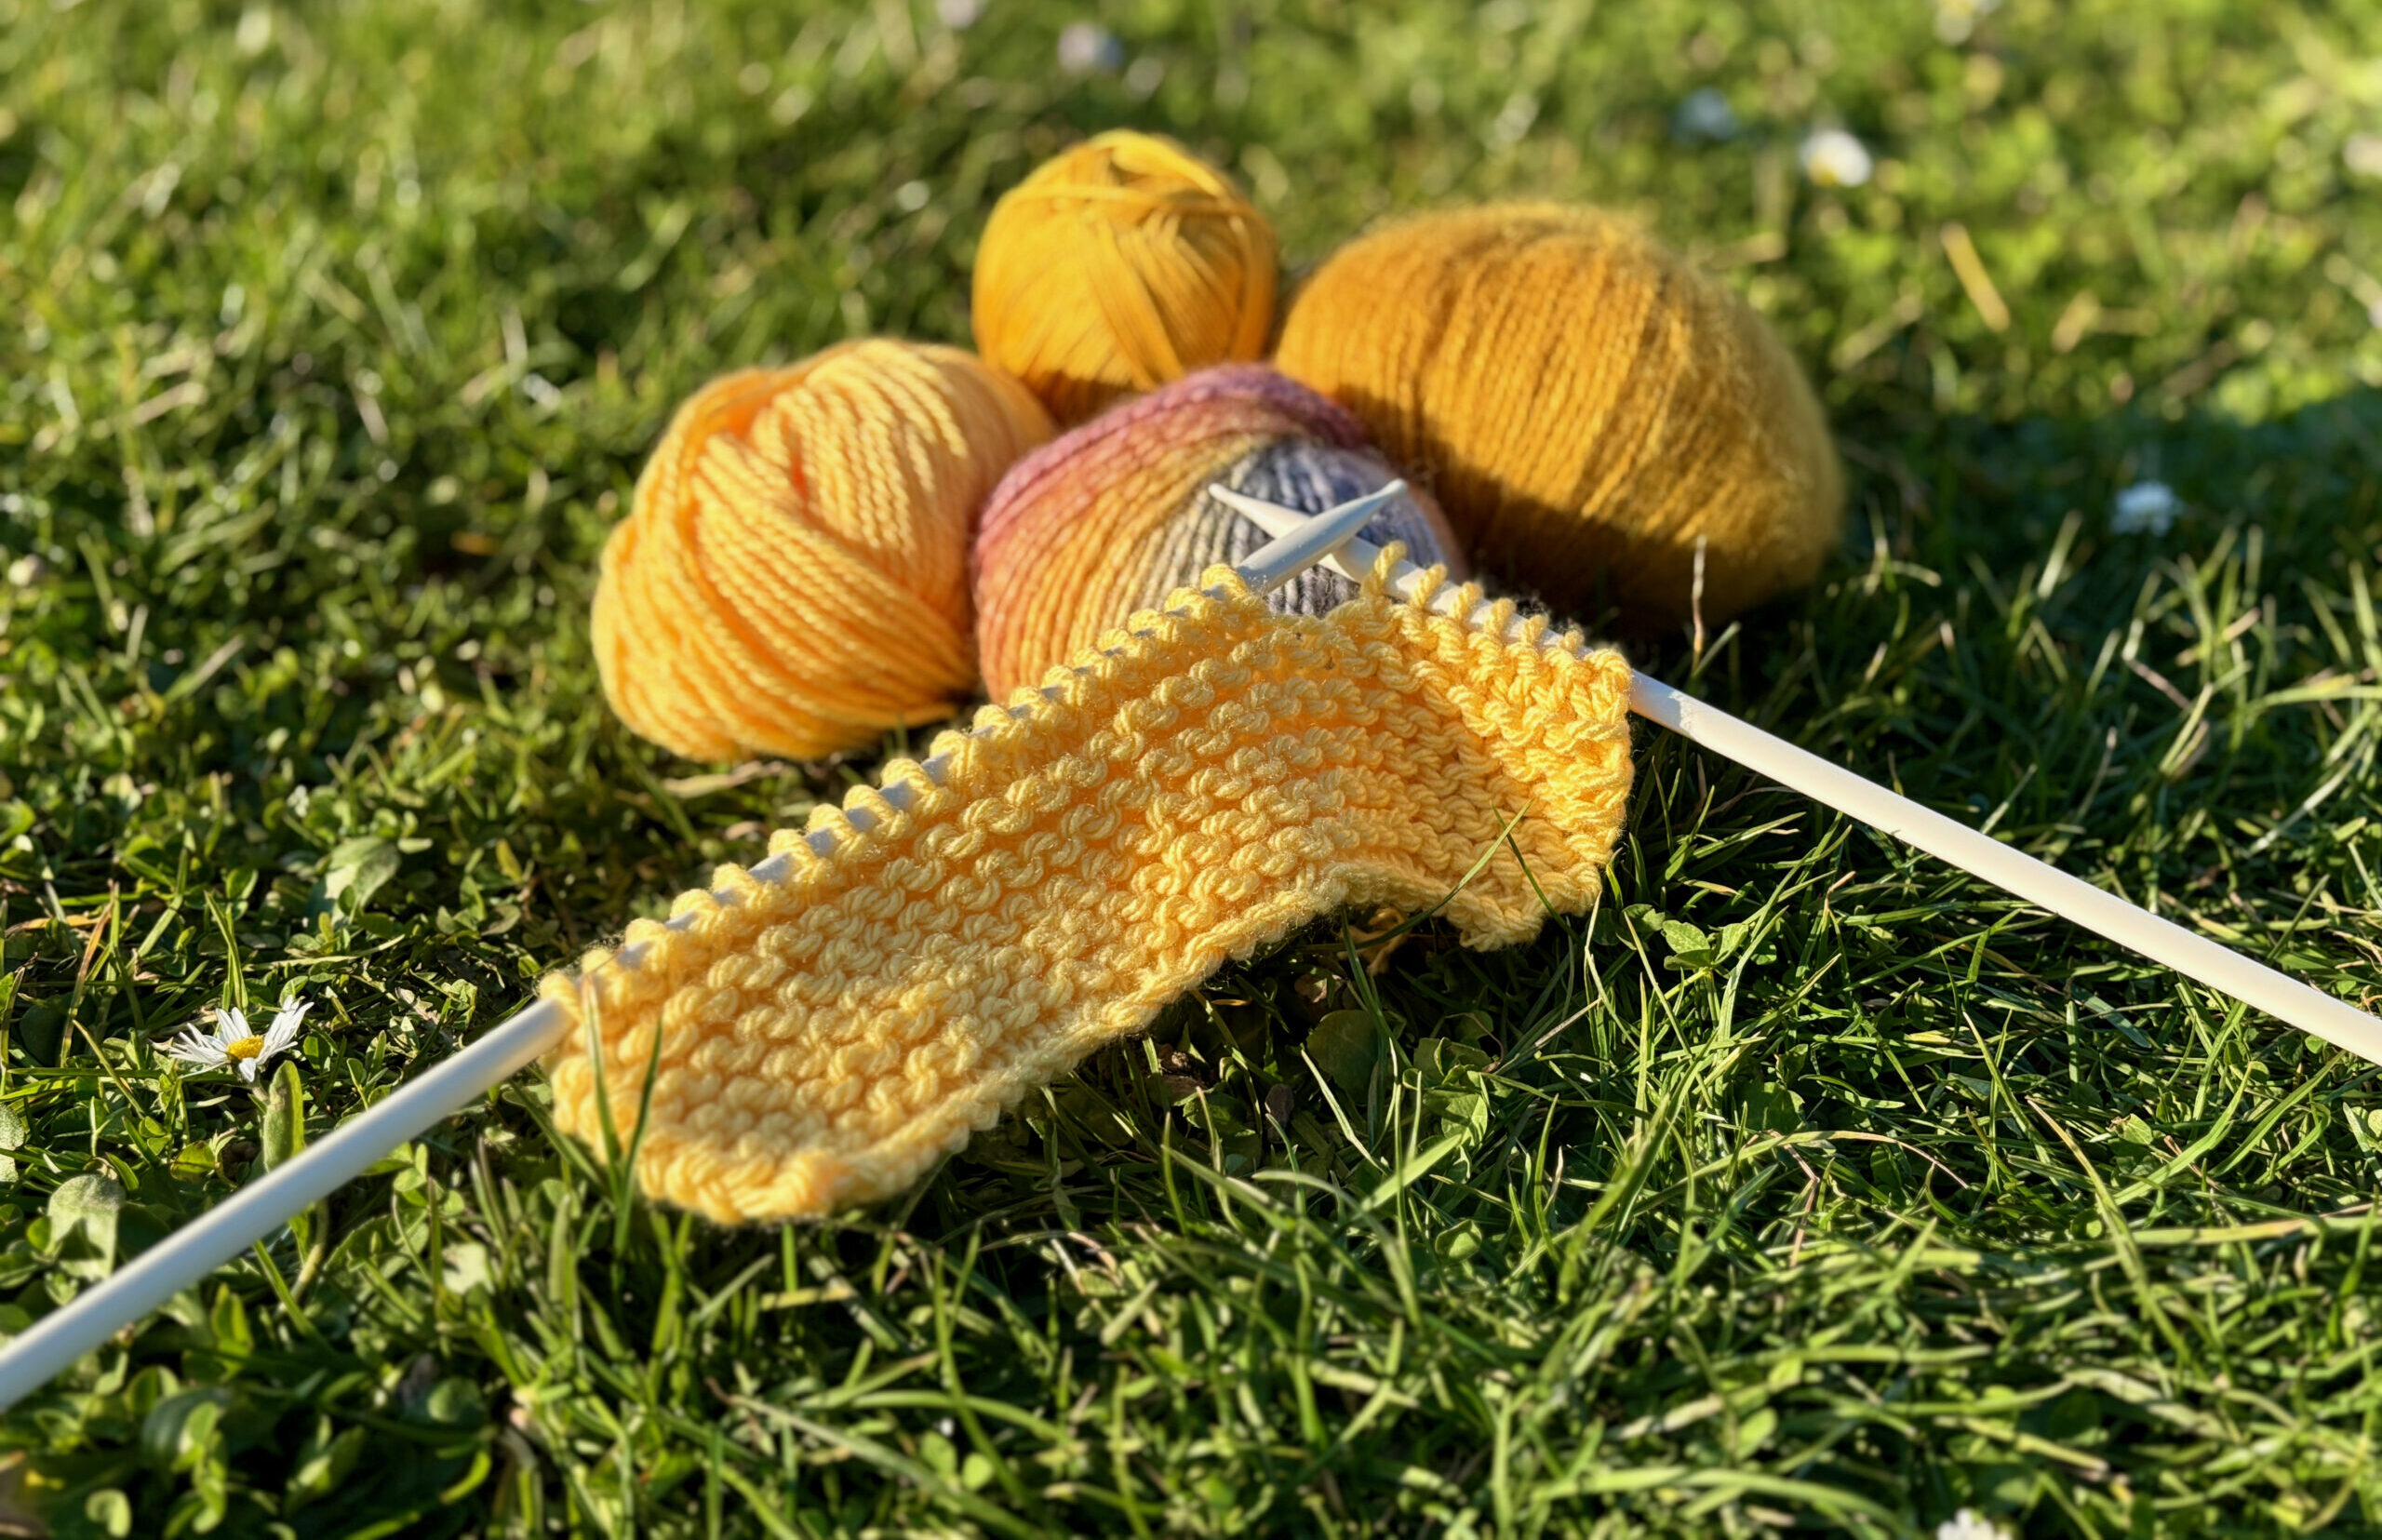
When we get excited about starting a new knitting project, it's sometimes tempting to skip the sample stage. And yet this little square of wool is your best ally in avoiding unpleasant surprises: a jumper that's too tight, a hat that's too large, socks that are too short, a scarf that stretches too far... Don't worry, knitting a sample is quick and easy, and above all, it will save you precious time! Let's take a look at why it's so important and learn how to knit it easily.
The main purpose of a knitting sample is to check that your knitted fabric will fit the dimensions specified in your pattern. Each knitter has his or her own knitting technique and way of knitting, and each yarn or wool has a different tension and a unique result. As a result, the final result of your work may be tighter or looser than that of the pattern designer you are referring to.
Knitting a sample before starting your knitting project will allow you to :
adjust the size of the work without having to start from scratch;
observe how the yarn or wool looks after washing and drying;
test the material for softness, elasticity and behaviour after blocking ;
save time, yarn and, above all, mental energy.

Always would be ideal! But there are certain cases and models where a knitting sample is absolutely essential to ensure that the final result of your work matches your expectations.
When you use a new yarn or a material that you are not used to working with. A yarn will never be exactly the same as another yarn, so it's important to ‘test’ it with a sample to find out whether it will be suitable for your future knitting project..
If you change knitting needles, in particular the material (wood, metal, plastic) or shape (classic or ergonomic). The way you knit will not be the same depending on the type of knitting needles you use for your knitting project.
When your knitting project depends heavily on precise dimensions and measurements. For example, a plaid in granny squares to assemble.
For simple accessories such as a scarf or small decorative projects, a sample may be optional, but it is always good practice to bear in mind before you start knitting.
Here are the step-by-step instructions for knitting your own sample quickly and easily:
Choose the knitting yarn and needles indicated in your pattern. It's important to start by following the instructions, then adapt them if necessary to suit the way you knit.
Make more stitches than you need. For example, if the sample requested is 20 stitches for 10 cm, make 30. This allows you to measure in the centre, without being distorted by the edges, which can tend to fold up (especially with stockinette stitch).
Knit in the stitch indicated in your pattern. Most often, this is stockinette stitch, but it can also be rice stitch, moss stitch, etc. To find out more, take a look at our article on the different knitting stitches.
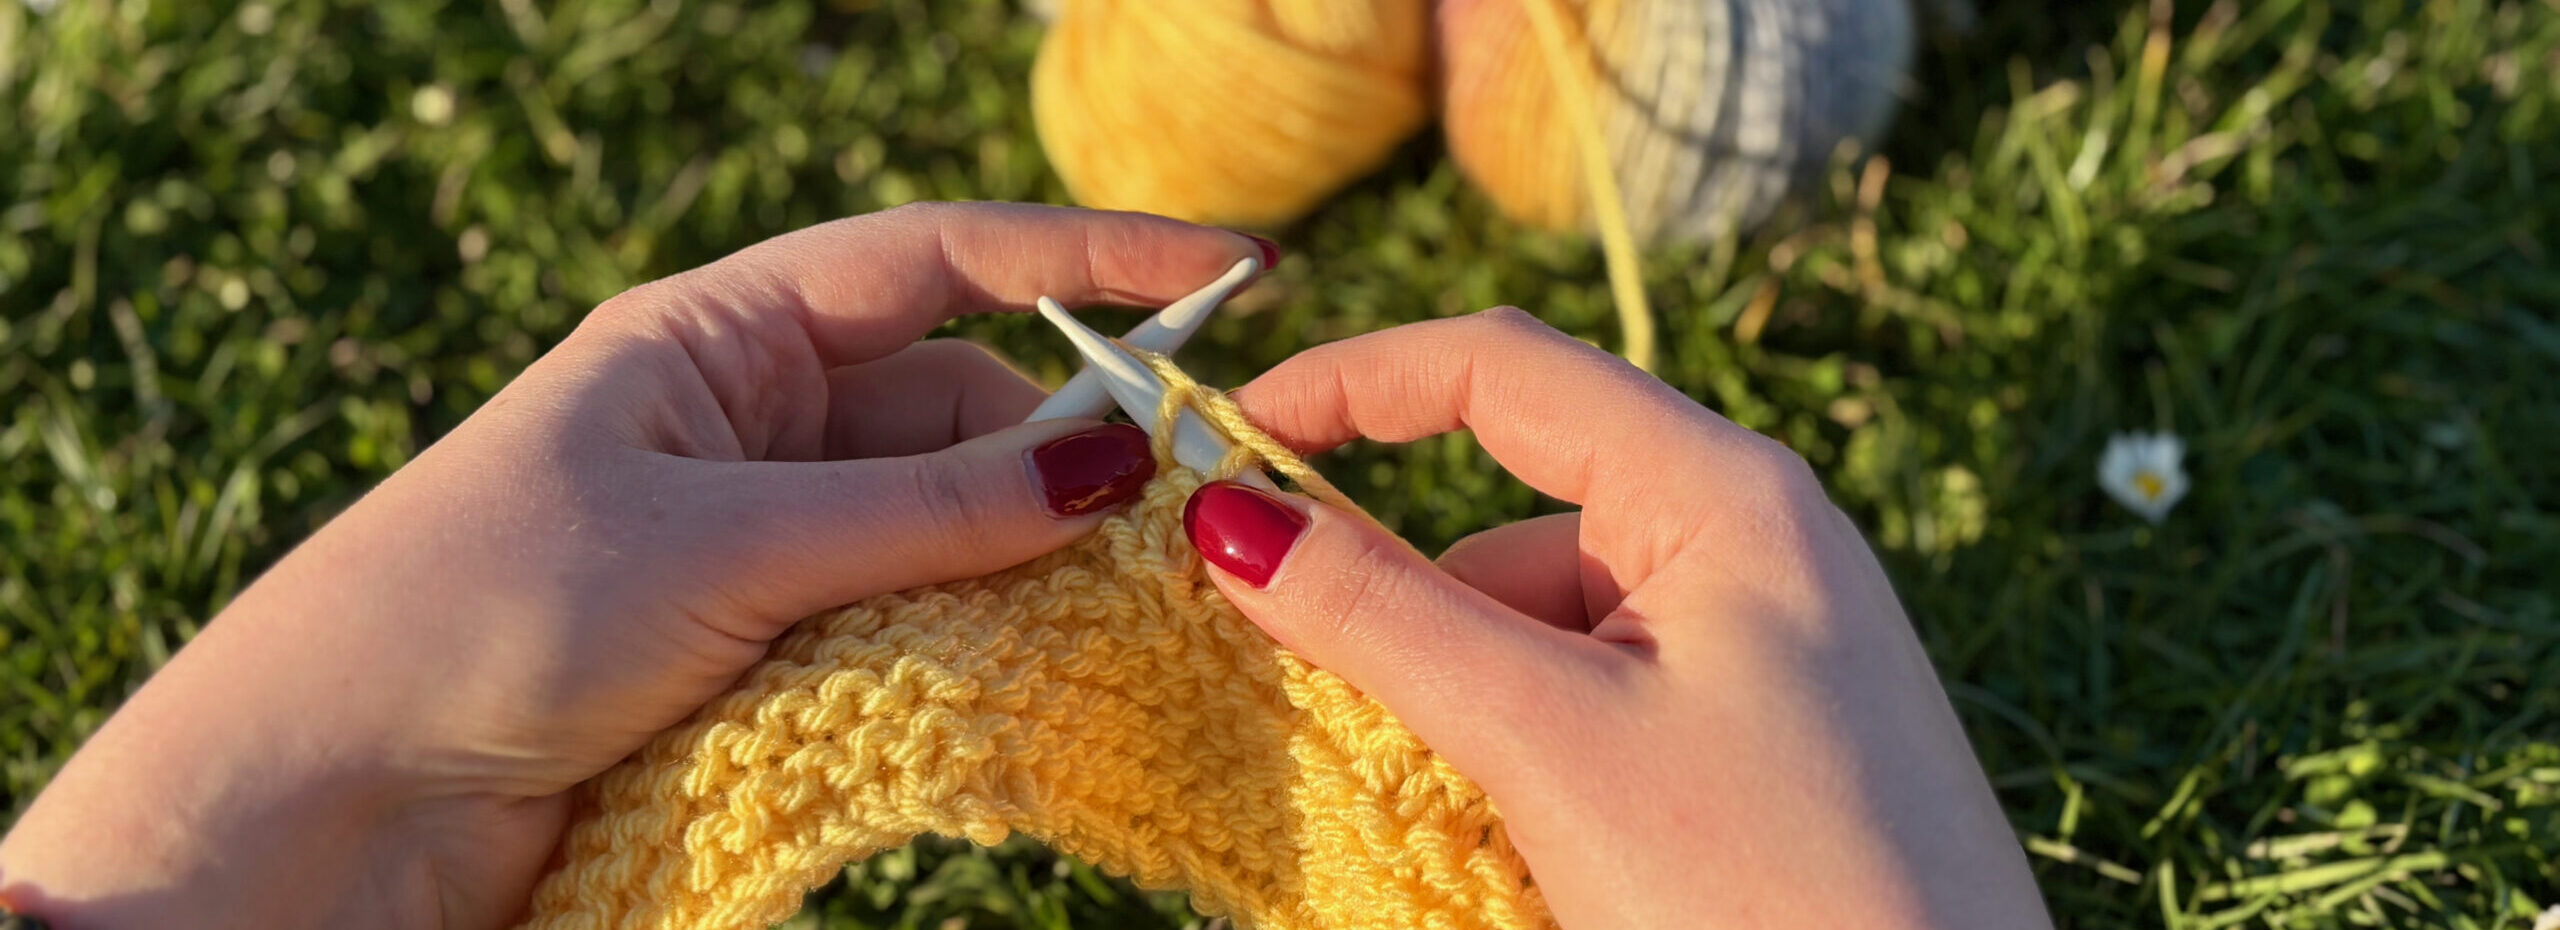
Knit an area of at least 12x12 cm so that you can accurately measure a 10x10 cm sample in the centre.
Block the sample. Wash it as you would wash your final project, following the care instructions on the label of the ball of wool used (hand wash, washing machine, tumble dry, light ironing, etc.). In this way, you'll be able to see how the wool fibres react to washing and drying, and know whether it's still suitable for your project or whether you need to change it.
Measure the sample carefully. Lay your sample flat, without stretching it, and use a ruler or a template to count how many stitches and rows you have on 10x10 cm.
Let's say your knitting pattern says:
 Sample 10x10 cm = 20 stitches x 28 rows (stockinette stitch, 4 mm needles)
Here's how to make this knitted sample:
Make 30 stitches.
Knit, in stockinette stitch, about 12 cm high (about 40 rows).
Block the sample, then gently wash and dry it flat (as you would for your final work).
If your knitted sample doesn't match the measurement shown on the pattern sample, don't panic, just adjust it! Even a slight difference can mean a difference of several centimetres on a large project. So it's important to make the necessary adjustments to get the desired effect for your final project.
Going back to the concrete example of the sample presented above, here are 3 situations you may encounter with your knitted sample:
Despite all your adjustments to the size of your needles, you still can't reach the sample indicated in your pattern? Don't panic, you can calculate the number of stitches you need for your project using your own sample or a knitting calculator!
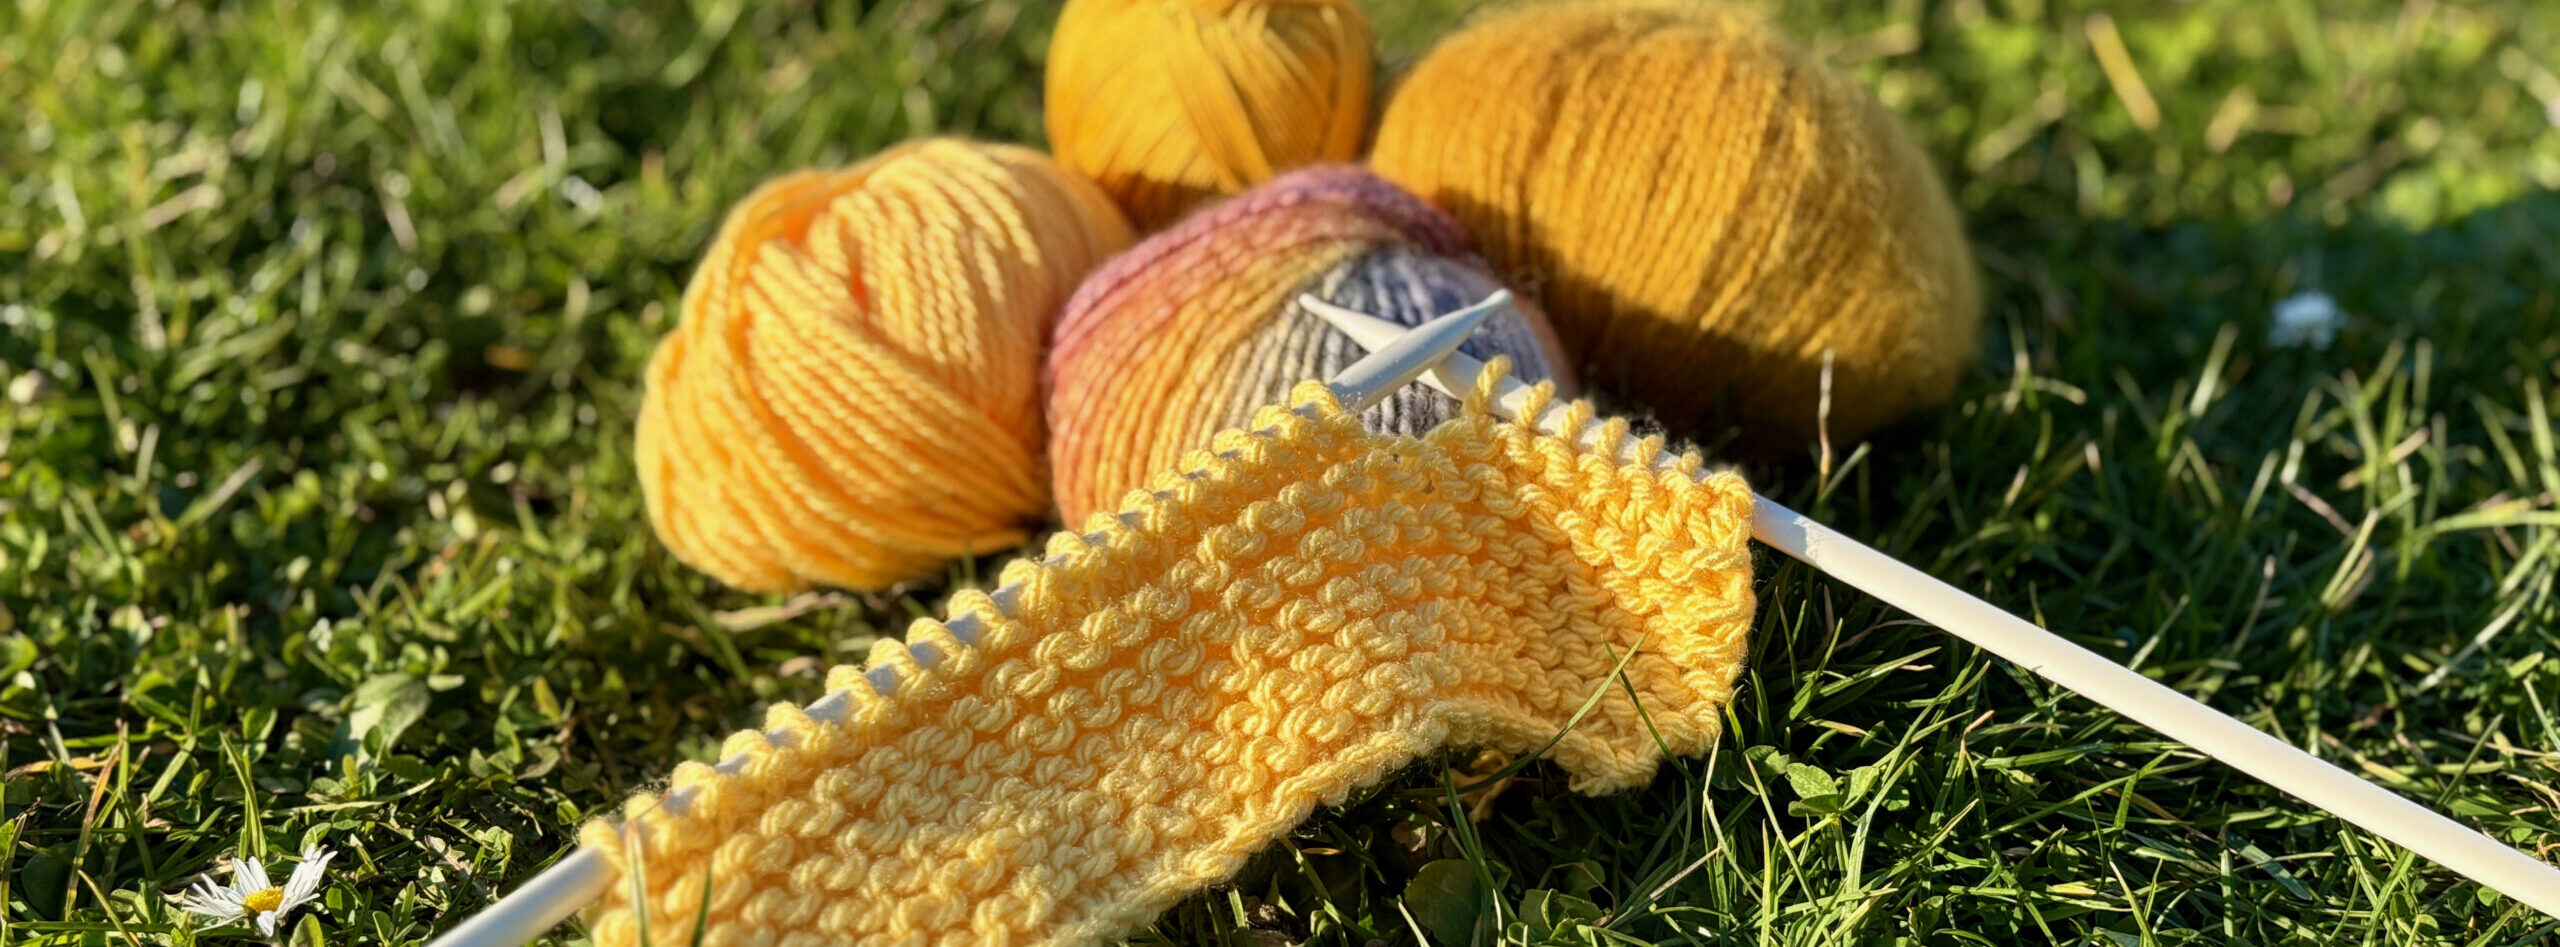
To do this, use a simple mathematical rule: multiply the number of stitches used to make your sample (e.g. 21 stitches) by the number of cm obtained in your sample for this number of stitches (e.g. 12 cm). Then divide the total number by the number of cm you need for your pattern (e.g. 50 cm wide for a jumper).

For example, if the pattern for the jumper you want to knit indicates a sample of 21 stitches for 10 cm, and your 21 knitted stitches for your sample represent 12 cm, and the work needs to measure 50 cm for the desired size, all you need to do is calculate: (21 x 50) ÷ 12 = 87.50 = 88 stitches to knit.
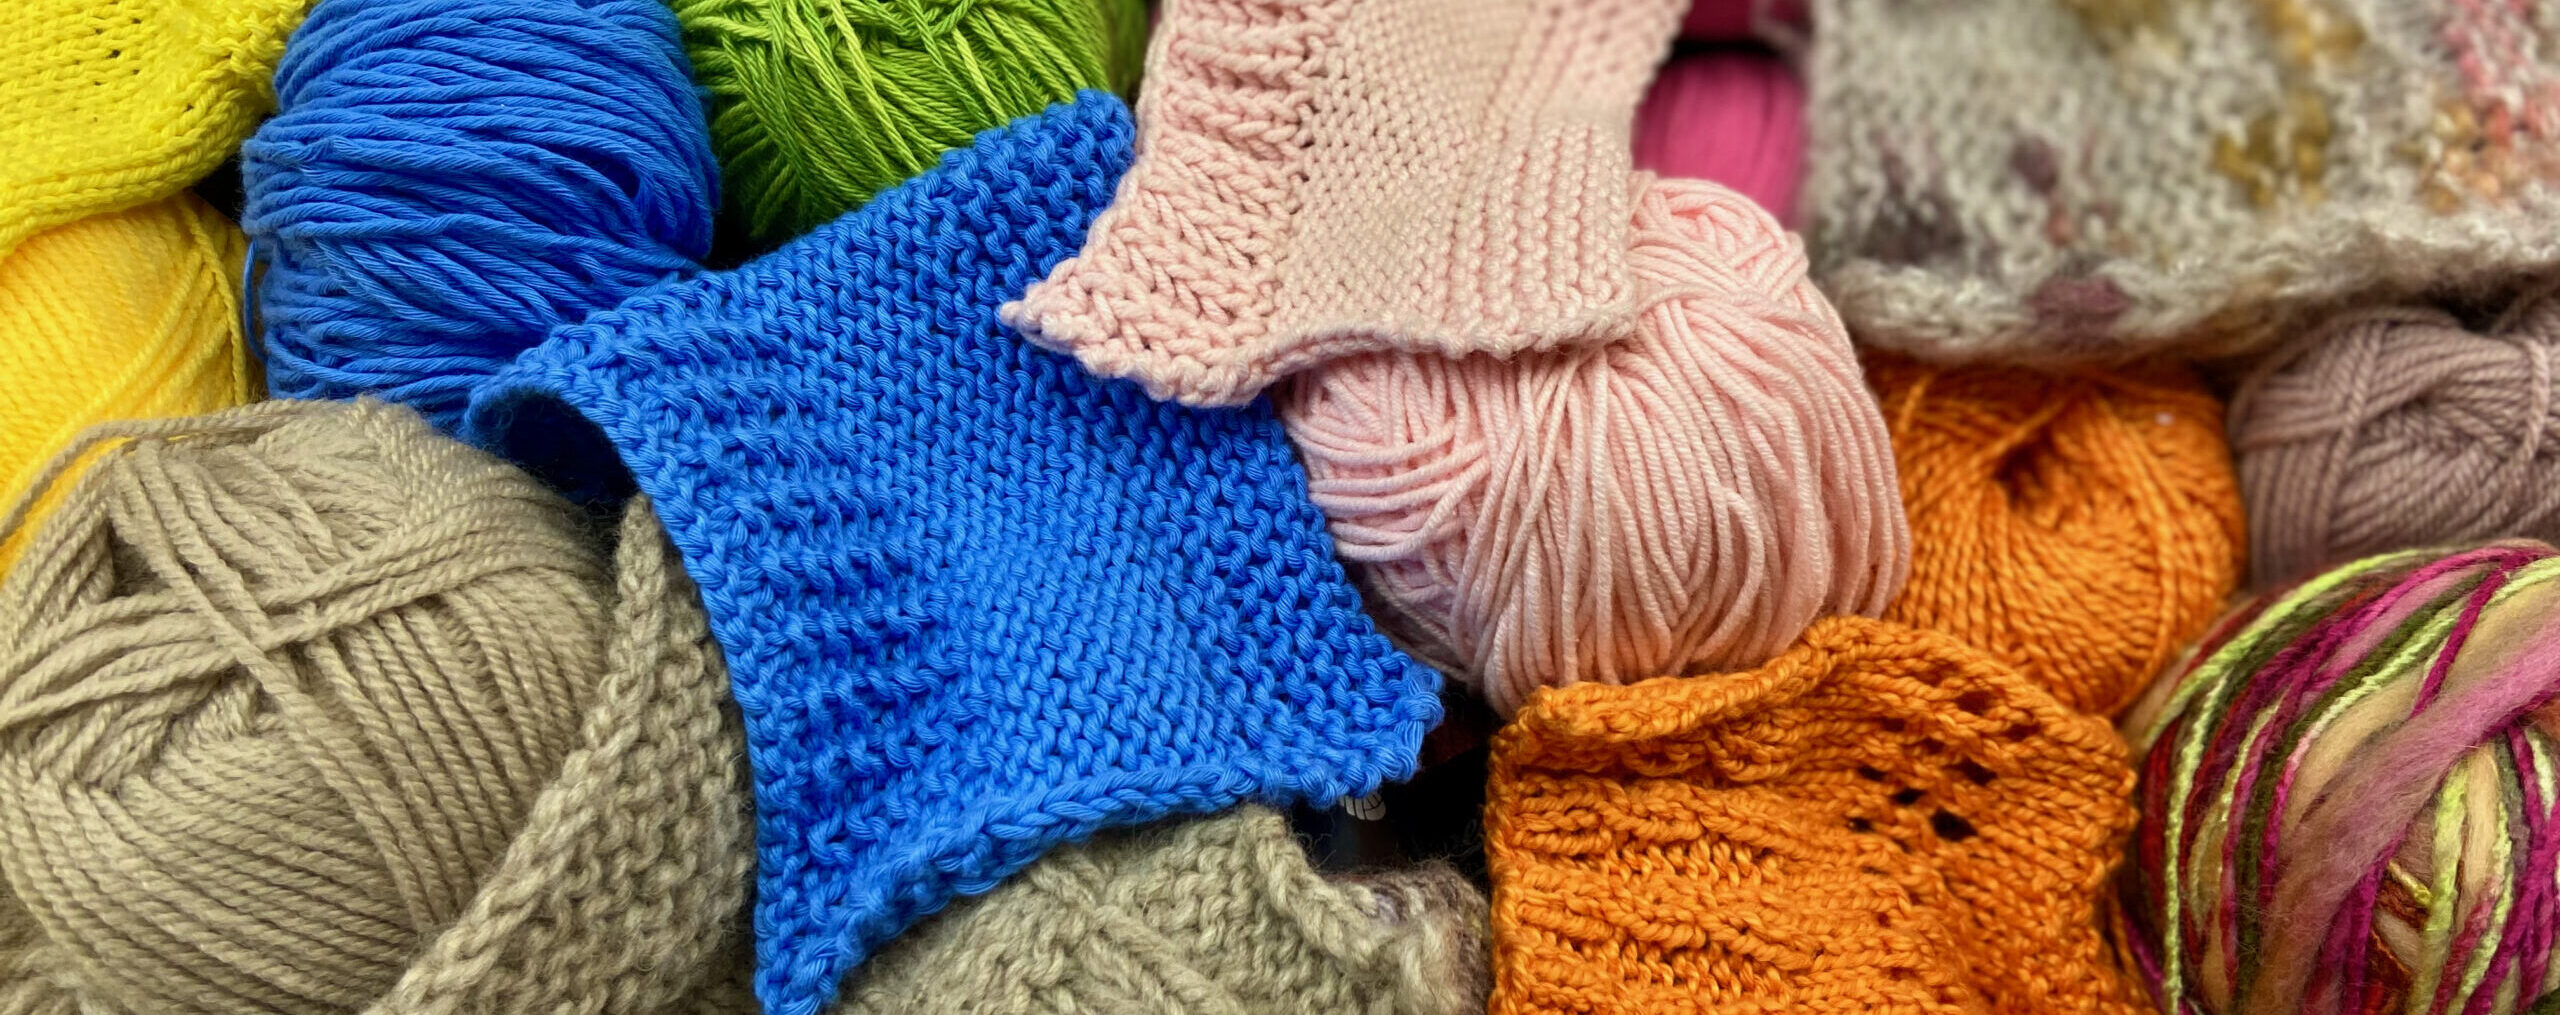 In short, taking the time to make a knitting sample means investing a few minutes and then saving hours of knitting (and frustration). It also allows you to personalise your project, get a better understanding of your yarn or wool, and above all, get a final result for your work that you'll be more than proud of!
So, are you ready to get out your needles and knit the samples for your next projects?